Picture a tranquil sanctuary adorned with vibrant flora and aromatic herbs, yet lurking amidst this serene paradise lies a sinister presence—the yew bush. Its velvety green foliage and graceful silhouette may allure you, but beneath its deceptive charm lies a concealed threat to both you and your prized botanical companions.
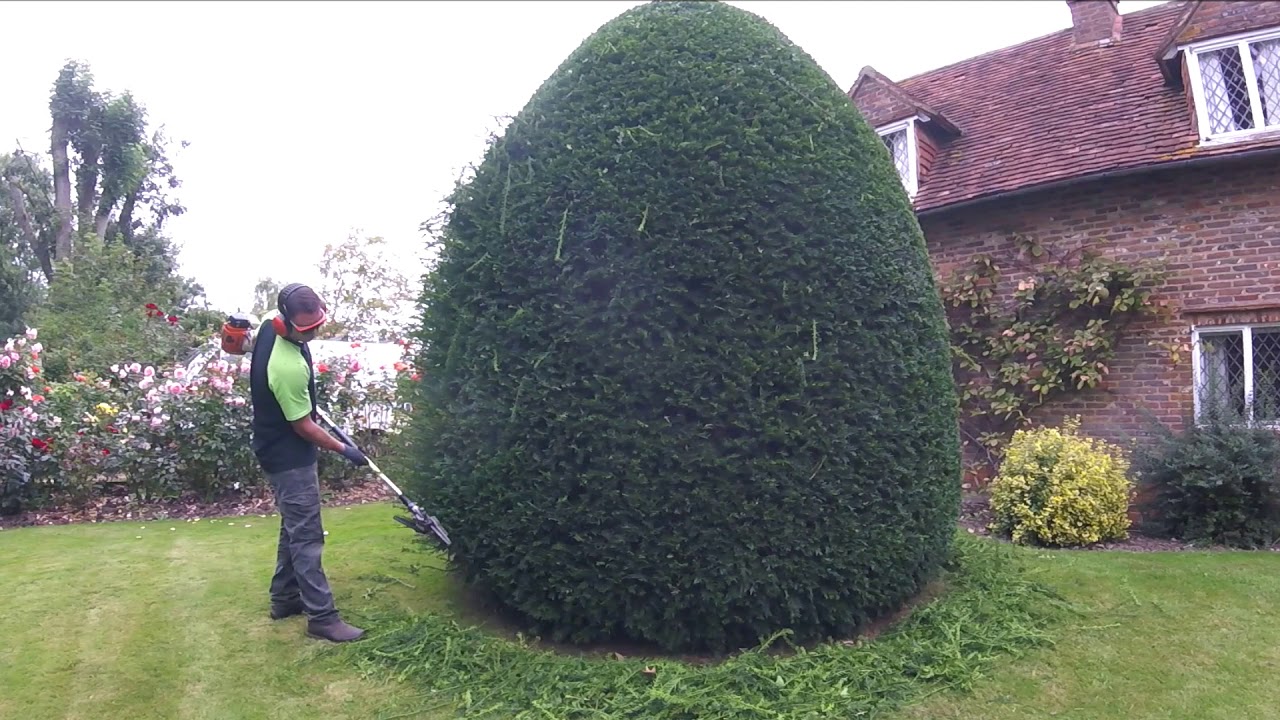
Image: www.youtube.com
The yew (Taxus baccata) is a formidable evergreen shrub native to Europe, North Africa, and Western Asia. While it has long been valued for its medicinal properties and ornamental qualities, its toxic nature demands caution and knowledge for its safe removal.
Unveiling the Peril: A Tale of Two Faces
The yew’s arsenal of toxins lies primarily in its leaves, twigs, and seeds. Taxine, a potent alkaloid, is the culprit behind its poisonous effects. Ingesting even a small amount of this substance can lead to severe consequences, including nausea, vomiting, seizures, and even death.
However, it’s not all doom and gloom. The yew’s delicate red berries, known as “arils,” are actually non-toxic and bear a sweet, fruity taste. In fact, these berries have been traditionally used in the preparation of jams and jellies.
Step-by-Step Guide: Banishing the Yew Menace
Armed with the knowledge of its toxicity, it’s imperative to approach yew removal with utmost vigilance. Gloves, protective clothing, and an understanding of the following steps will guide you towards a successful eradication:
-
Identify Your Foe: Familiarize yourself with the yew’s unique characteristics, such as its thick, leathery leaves and reddish-brown bark.
-
Choose the Right Tools: Invest in a sharp pair of bypass pruners and a shovel for efficient removal.
-
Protect Yourself: don protective gear to prevent contact with the plant’s potentially toxic foliage.
-
Prune Methodically: Start by severing small branches, gradually working your way towards the main trunk.
-
Dig Out the Roots: Once the above-ground growth is removed, carefully dig around the base of the trunk to expose the primary root system.
-
Dispose of the Remains: Place all plant material in a heavy-duty plastic bag and dispose of it at an authorized waste disposal site.
Expert Wisdom: Lessons from the Masters
“The key to successful yew removal lies in meticulous execution,” advises horticulturalist Amelia Green. “Ensure every part of the plant is thoroughly removed to prevent regrowth.”
According to arborist John Smith, “Timing is essential when it comes to removing yews. Avoid pruning during their active growth period, which typically falls between March and May, to minimize the risk of toxic sap exposure.”
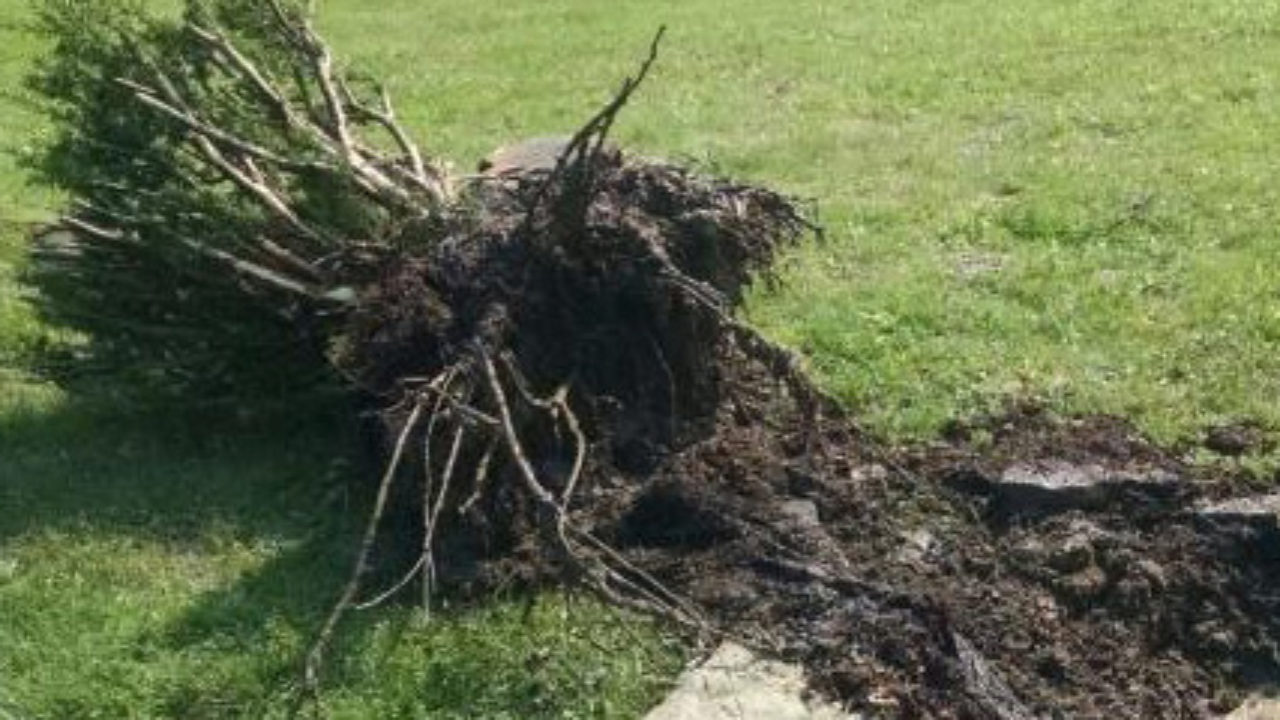
Image: zabingardentplant.blogspot.com
How To Remove Yew Bushes
Epilogue: Reclaiming Your Botanical Haven
With the yew bushes uprooted and eradicated, you can now breathe a sigh of relief as your garden regains its original tranquility. By following the steps outlined in this article and heeding the advice of experts, you have successfully removed this potential hazard from your green paradise.
Your garden, once threatened by a silent invader, now stands as a testament to your vigilance and careful handling. May it continue to flourish and bring you countless moments of joy and serenity.
